Install Sophos SSL VPN Client (Windows) - UTM
This guide explains how to download and install the SSL VPN client from the user portal of your Sophos Firewall.
Info: This guide was created for a Sophos Firewall with the UTM operating system. If you use an XG firewall running SFOS, see the SSL VPN instructions for a firewall running SFOS. There are also instructions for setting up the VPN for macOS or iOS. These require an XG Firewall running SFOS.
Install SSL VPN Client
1. Log in to Sophos
Use your browser to go to the URL of the user portal of your Sophos and then log in with your username and password.
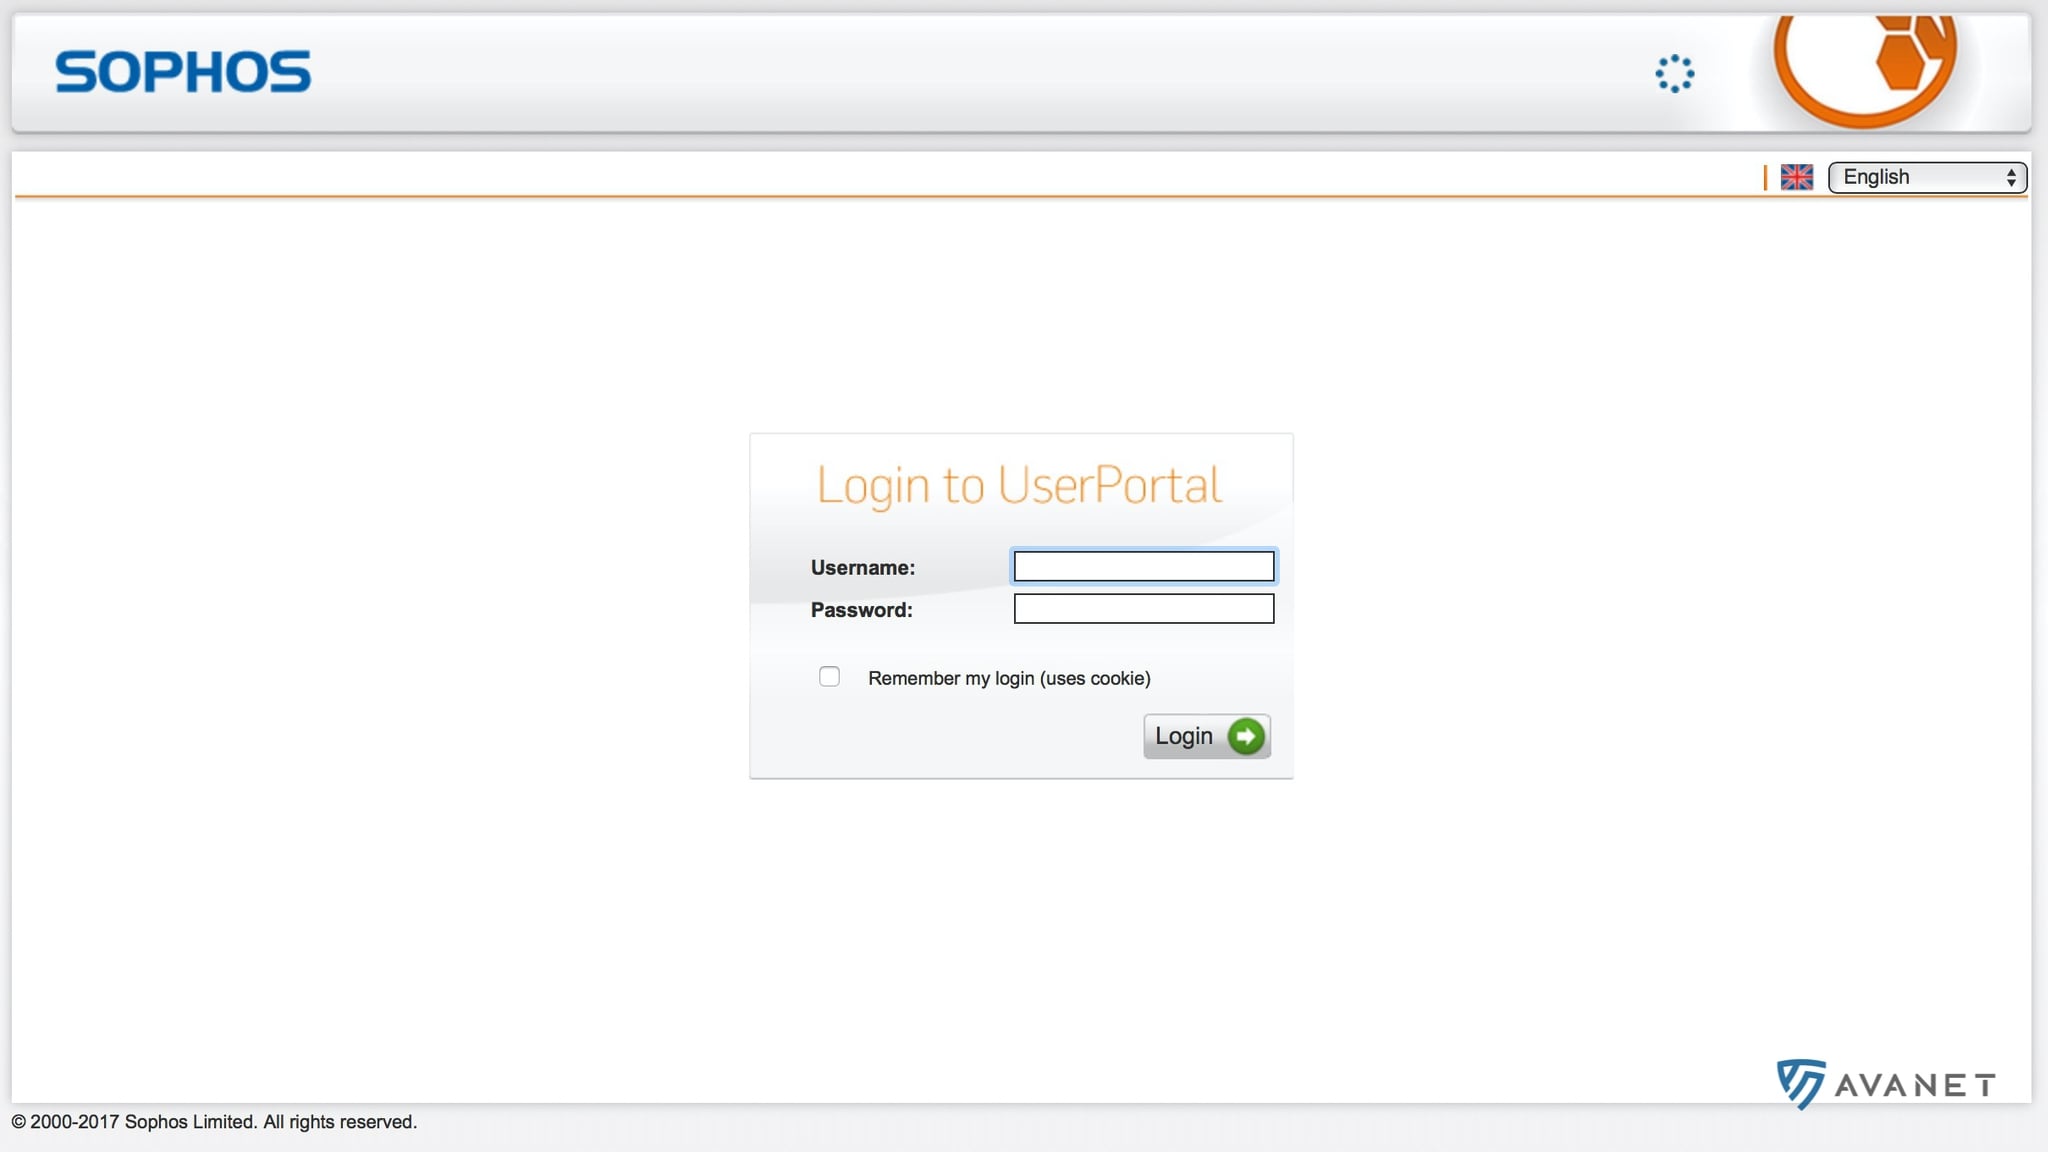
Note: If a message appears in your browser that the connection is not trusted, it is because no SSL certificate has been issued for the firewall. Therefore, look for the option to access the page anyway (varies depending on the browser).
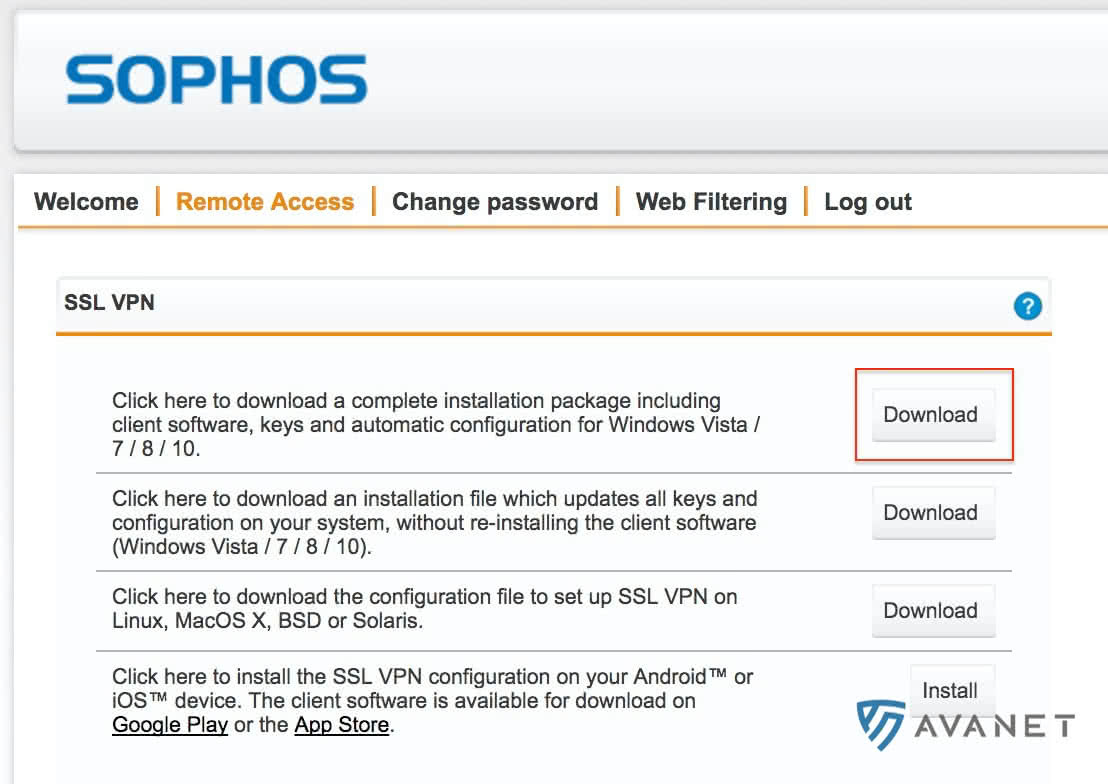
2. Download Sophos SSL VPN Client
Go to Remote Access in the navigation. Then click the first download button under SSL VPN and download the software.
3. Install Sophos SSL VPN client
Run the setup and follow the steps of the wizard.
Note: If during the installation you are asked to install a device software named TAP-Windows Provider V9 network adapter, you can simply confirm with Install.
4. Set up Sophos SSL VPN client
After installing the client, a small traffic light icon appears at the bottom right of the taskbar. Right-click on the traffic light icon and select Connect. Then enter your username and password and confirm with ok.
5. Check VPN connection
The traffic light should then turn green with the correct credentials. This indicates that the VPN connection has been successfully established. You can now access the remote desktop server or the company’s file server.